Hi everyone! Today I've got something a bit different for you to have a look at. Those of you that read my last post will know I'm doing a UV Gel Nail diploma at the moment and have been practicing on my own nails.
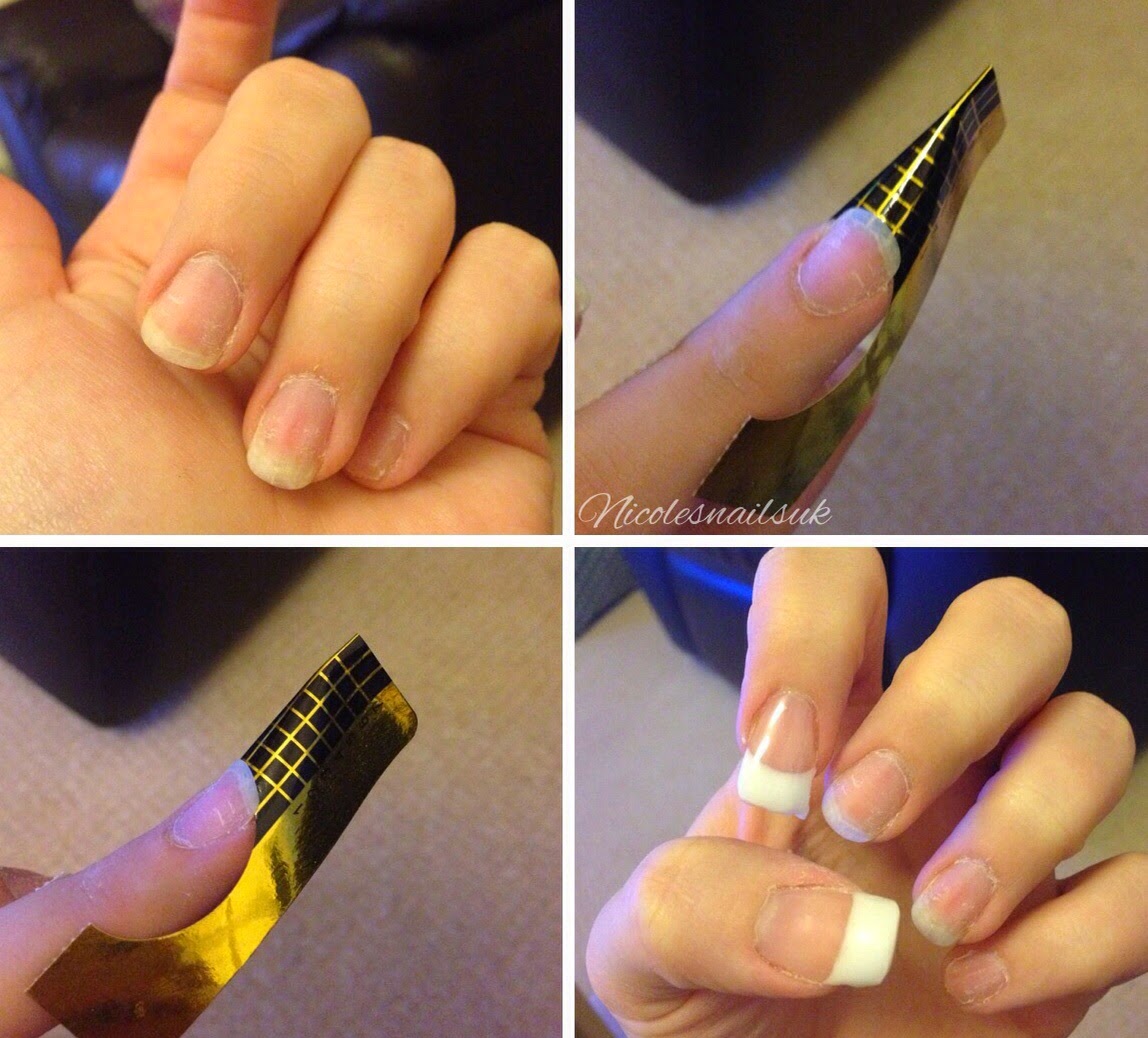
One of my favourite things to do with gel is sculpting the tips (my course just teaches me to apply tips, so this is self taught!). Sculpting is creating an extension to the nail, without actually gluing on a fake tip, but by using the gel to form the shape and length you want.
To sculpt you use a sticker as your guide, and once it's set, you just peel the sticker off and your sculpted gel is left behind.
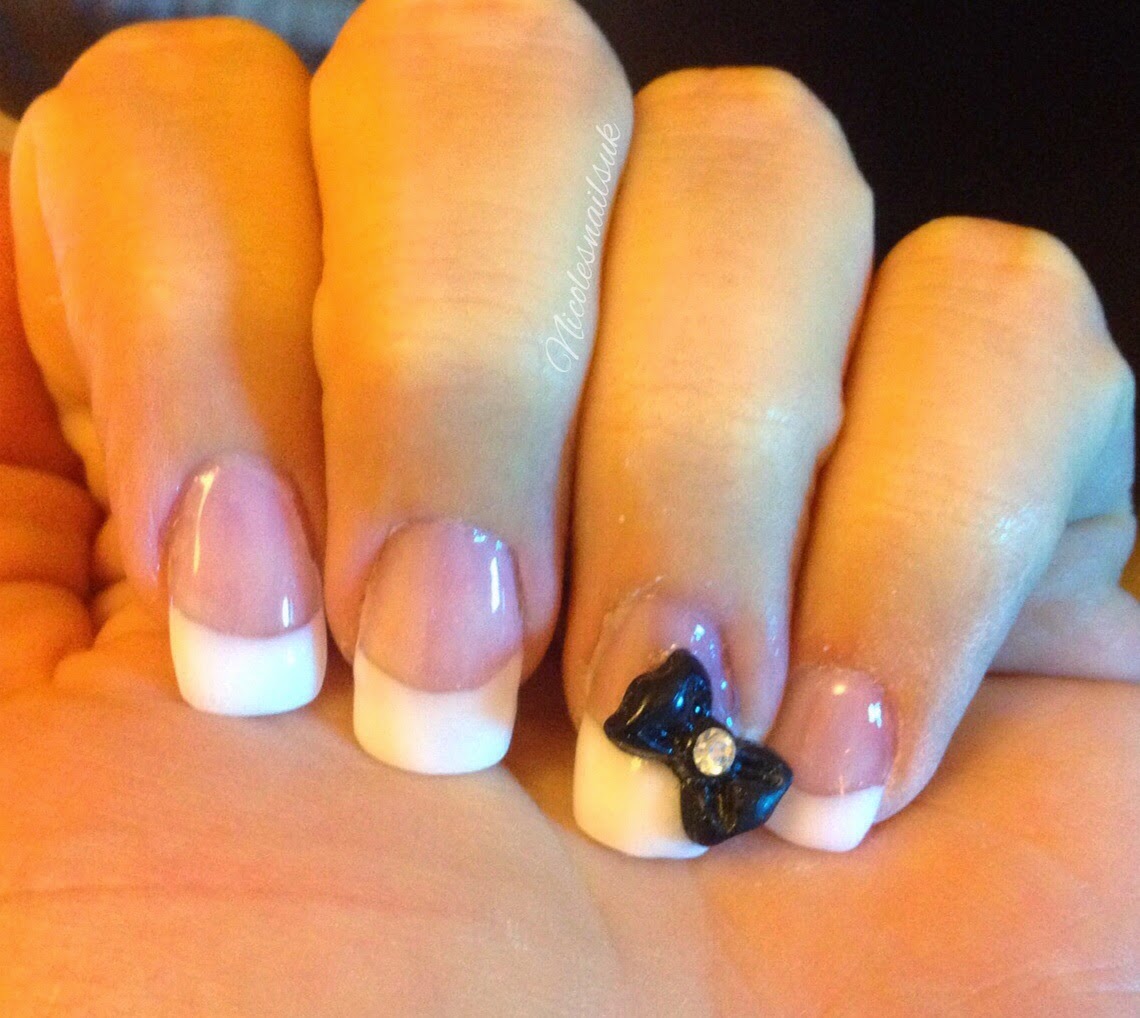
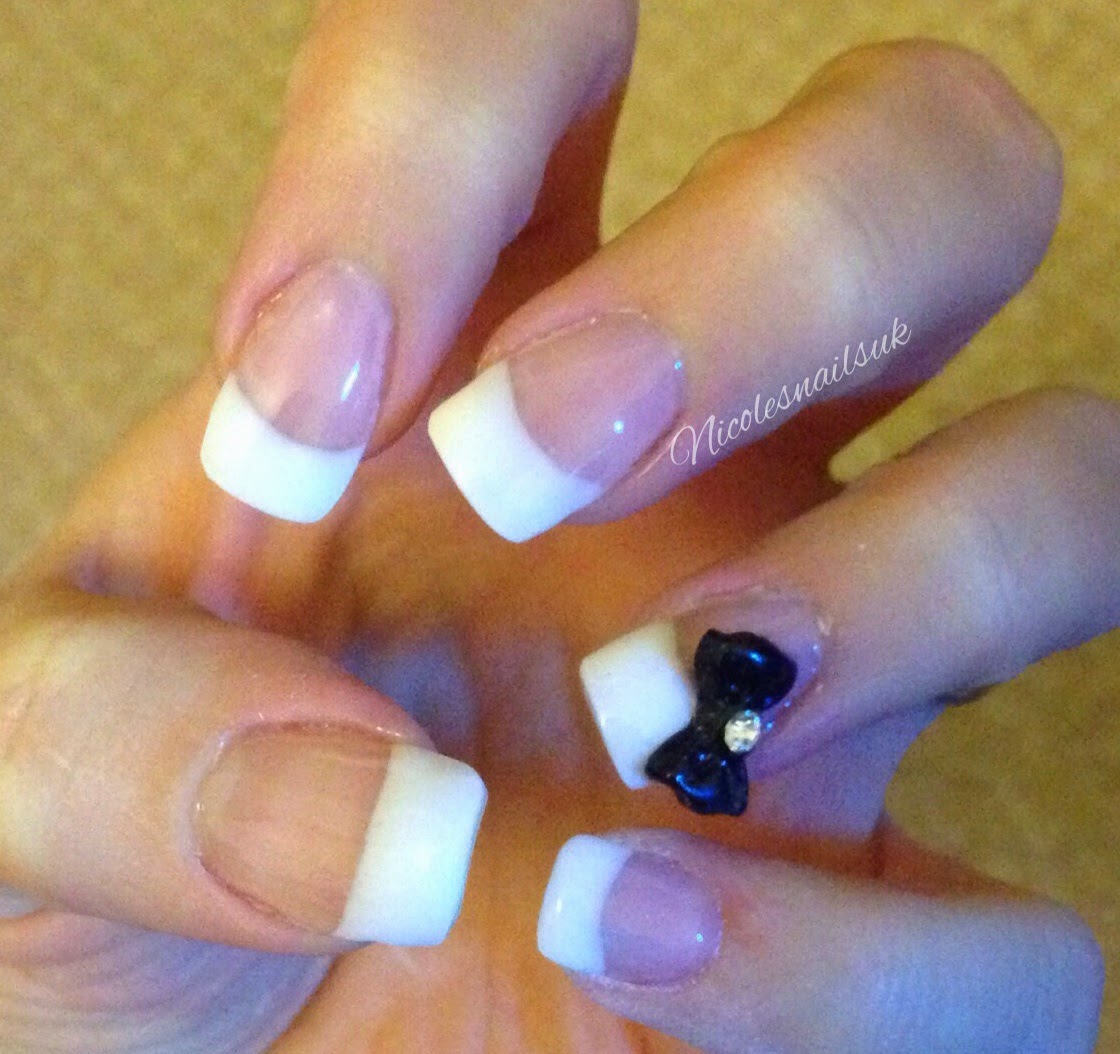
In the pictures (excuse my nasty nails I'd just removed my previous set!) I've created a traditional French manicure design, by adding white gel onto the tips once they were sculpted. Lastly I added a bow as an accent on each ring finger to make the normal French mani a bit different.
I hope you like, return soon for more of my gel designs and practicing!
Nicole x
@nicolesnailsuk
Ok, so it's been a long time since I posted last and I'm really sorry to you all for that! A lot has happened since June (yep, June!) and now things have settled down I'm hoping to get back to normality and back into blogging.
I might as well be honest with you all about where I've been...back in May me and my husband found out we we're pregnant. I started to blog less and less due to my 'morning' sickness being in the evening. But unfortunately it wasn't to be and we lost our little boy at nearly 17 weeks, in August. Obviously it's taken a while for things to get back to normal and we are finally getting there.
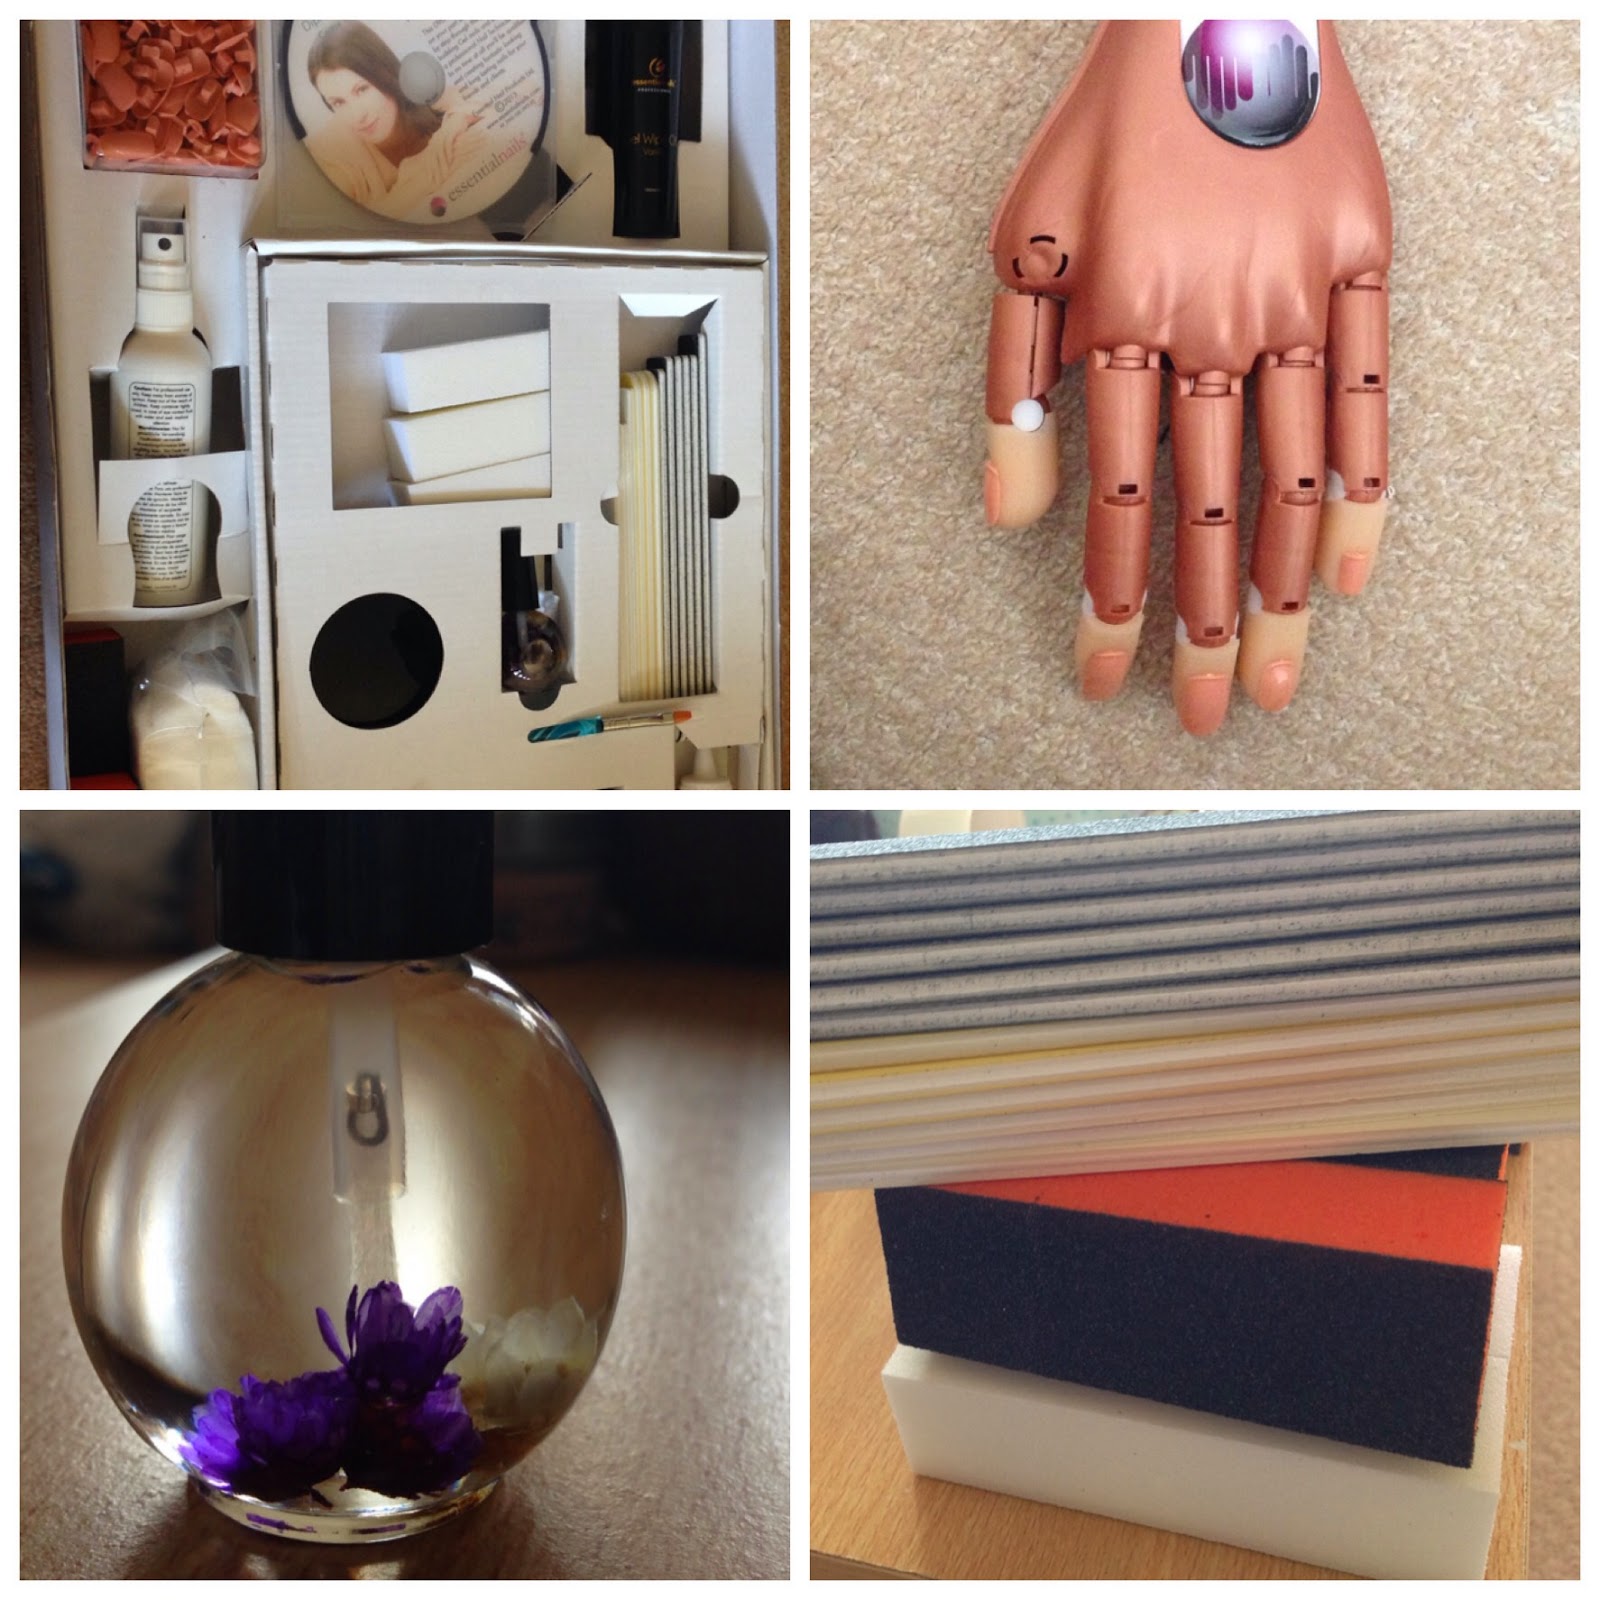
Now in aid of a fresh start and all that, I've enrolled myself on a UV Gel nail and maintainence diploma, which I'm working through from home. As much as I'm loving this it does present a problem when it comes to my blog...I used to change my nail design near enough everyday to create tutorials etc for you to read, but now I have to make sure I get in as much practice as possible on real nails so I have to do my own!
The day my diploma equipment arrived
This all means a fresh start for the blog as well as myself. Rather than just sticking to tutorials and my own designs there will be a range if different posts between my own nail designs, which I now tend to change every 1-2 weeks.
Progress: On the right,one of my first attempts at applying & blending
On the left,after lots of practice it's looking better :)
So I hope you will return to my new and improved blog in the future. Watch this space for more posts!
Nicole x
@nicolesnailsuk
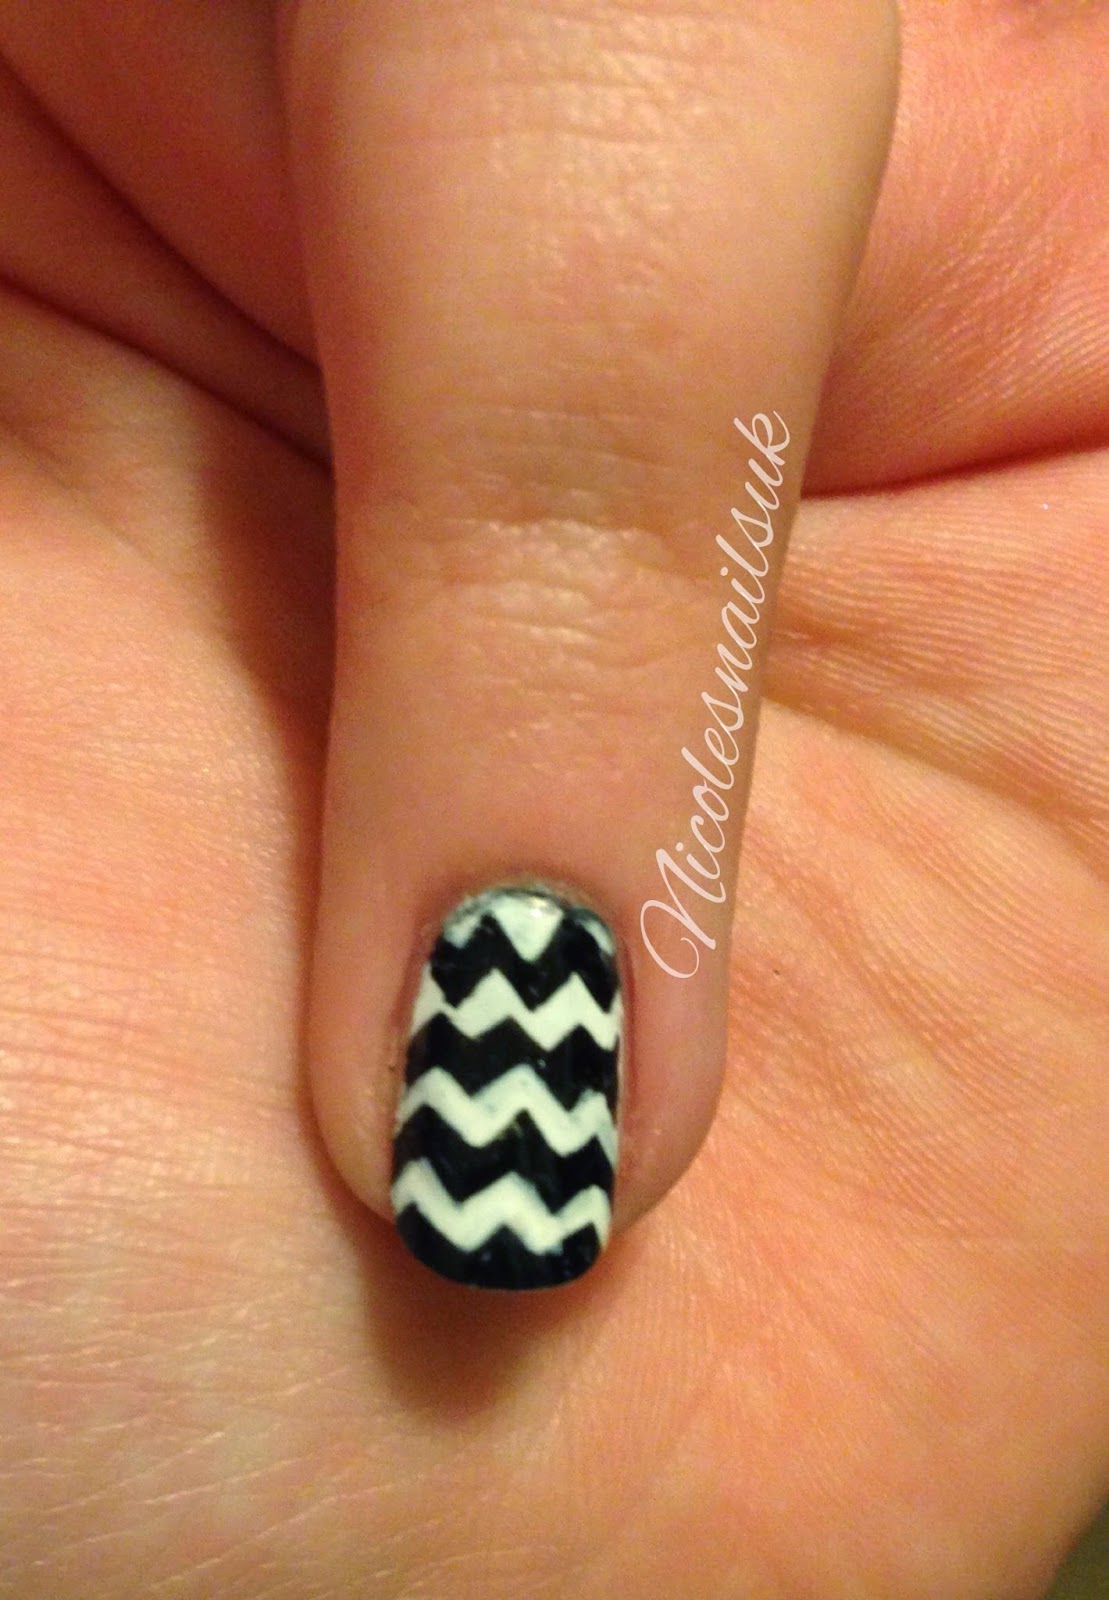
Hi everyone, welcome to this evenings post :) today I've got a chevron design to show you, with my favourite polish at the mo, BarryM's 'Green Berry'.
I love doing a chevron mani, but they are soo fiddly and time consuming! You can see my tutorial here. The tutorial is a slightly simpler version as the zig zags aren't as small. The smaller the little triangles you cut out are, the more zig zags you get, but the harder it is!
I love how you can create this look with any combination of colours, and I really love using such eye catching colours like in this version. I think the contrast between the black, white and turquoise works really well, and is really effective!
So I hope you like my chevron design, see you soon for more manis!
Nicole x