Instagram
Follow on Feedspot
Follow on Bloglovin
Nicoles Nails

Thursday, 13 November 2014

Tutorial Time!

Hi everyone! It's that time again! It's Tutorial time, for the first time in ages! I'm really pleased with this design. I found something very similar on Pinterest, which helped with my idea, but unfortunately there was no link to the original so I don't know who you are! But thanks for the great idea! :) 


First of all I started with BarryM's Cardamon Gelly polish (bought for me by my lovely hubby!) this is a great colour and really unusual. First paint your base layer in your chosen colour on your thumb, index finger and little finger. Then choose a lighter colour (I've used white) for your middle and ring finger. 


Once this layer is dry, take your darker colour again and paint half of your middle finger, don't worry too much about it being perfect as we'll be covering most of it up in a minute.  The next stage means making sure your nails are really dry as you're going to add a rose design. This is a little more intricate than the usual blob with a few lines. I've used BarryM's pink nail art pen and built up the rose with tiny dots and lines to create the illusion of petals. 


Do two or three small roses on the lighter half of your middle finger, then do one large rose anywhere on your ring finger. Next add some petals with a green polish. I've used the Cardamon again so it matches the other nails.


Lastly we're going to add some diamonds down the middle finger because we love a bit of sparkle! All you need to do is paint on a layer of top coat then use a cuticle stick to gently place the diamonds along the line between the two colours. Then just seal them all with top coat and you are good to go! 

Nicole x

@nicolesnailsuk

Friday, 7 November 2014

Road Trip Selfies & Floral Designs

Hi everyone, today I've got a favourite design of mine and two for the price of one! I love adding roses and flowers to my nails, and it's always my go to design, plus it's so easy to do! 


So I started with a traditional Gel French manicure, then added the little roses on top. I had only planned to do an accent nail on each hand but got a bit carried away! I then added a thin coat of gel on top to protect it. 


The next day we headed out to meet our new niece and while taking an early morning road trip selfie I realised my nails matched my coffee mug! Slightly obsessed with any sort of floral/Cath Kidston style design! 


My second design is another great way to use the floral design along with the French manicure. I've used BarryM's Nude polish for the base and then added the white tip. I love just keeping the roses within the tip, and I've also added a little pink glitter along the smile line for a bit of sparkle! 


So I hope you like today's designs and feel inspired to do your own! 

Nicole x 

@nicolesnailsuk

Wednesday, 5 November 2014

Better late than never: Glitterati Review

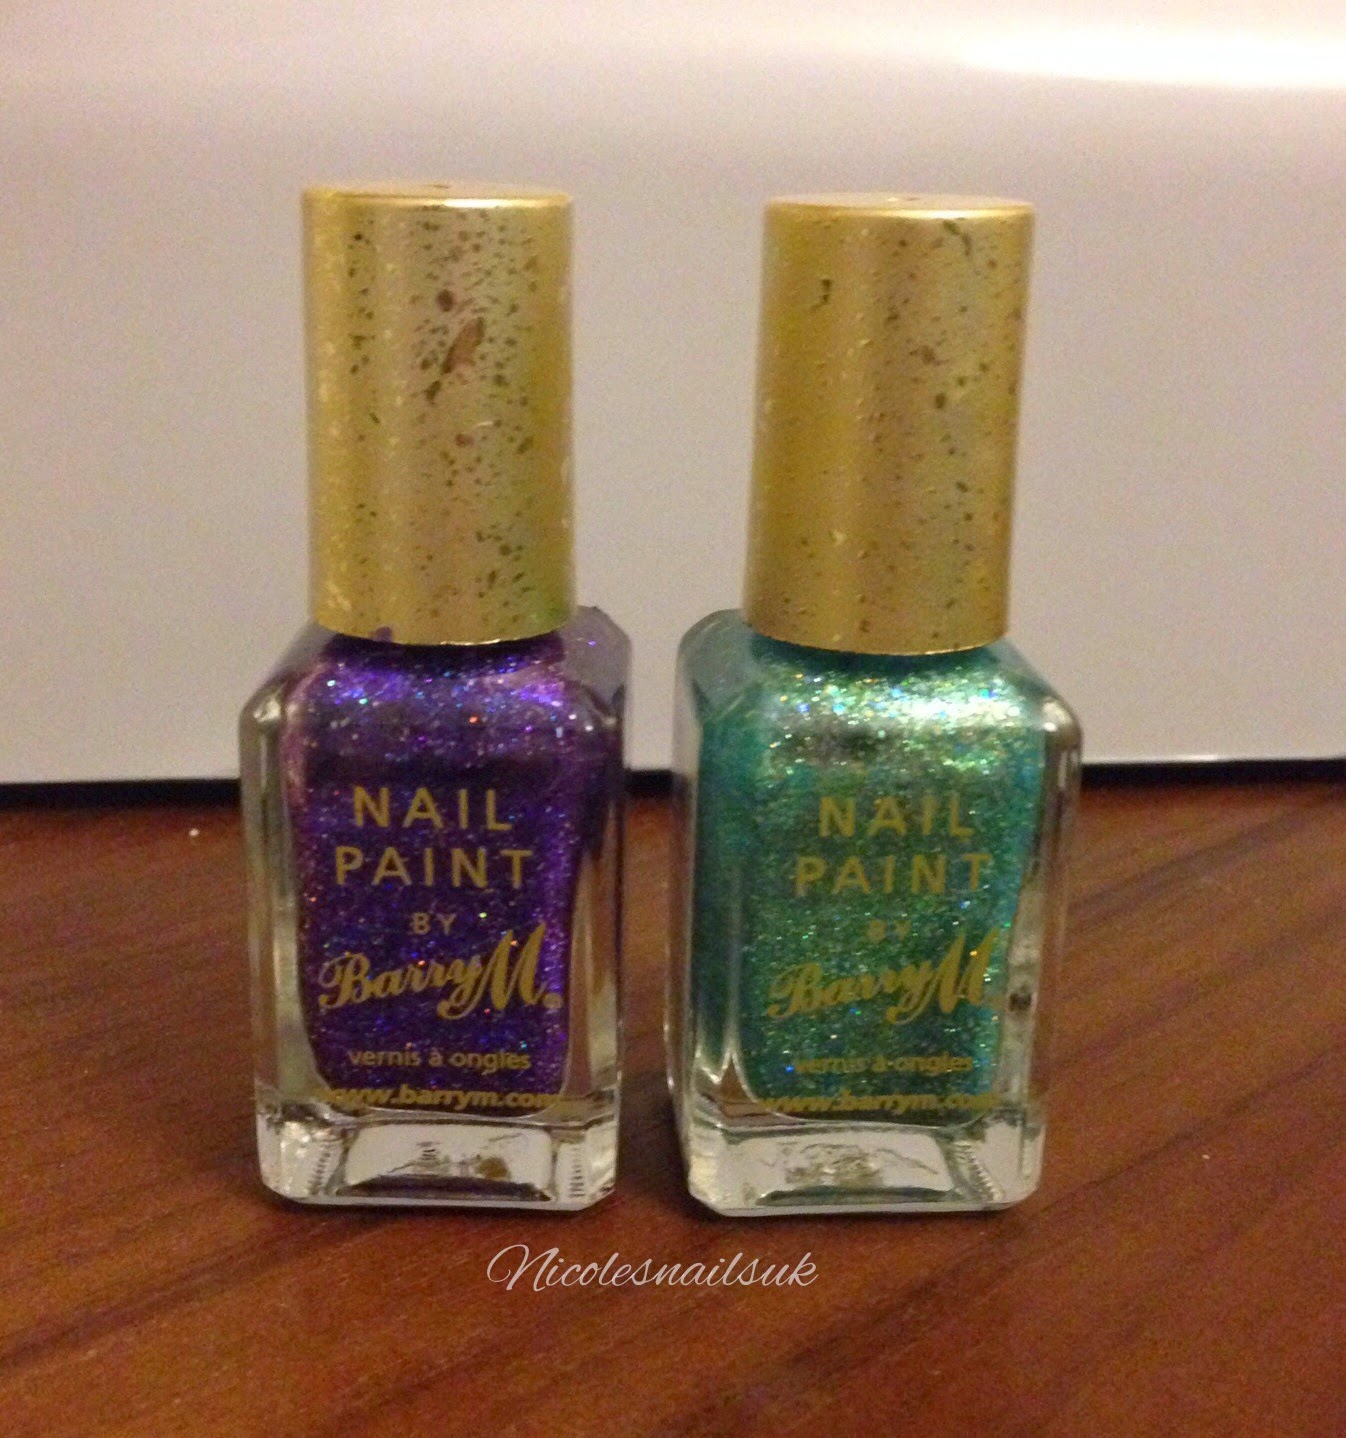
Hey everyone, welcome to today's post. Today I've got a little review for you of my new favourite polishes. Now this review is a little behind as the BarryM range of Glitterati came out in September, but as you all know I've been a bit behind with the times recently! 

I originally purchased 'Fashion Icon' which is the lovely glittery purple, and because I loved it so much I treated myself to 'Catwalk Queen', which is a tortoise glitter. 


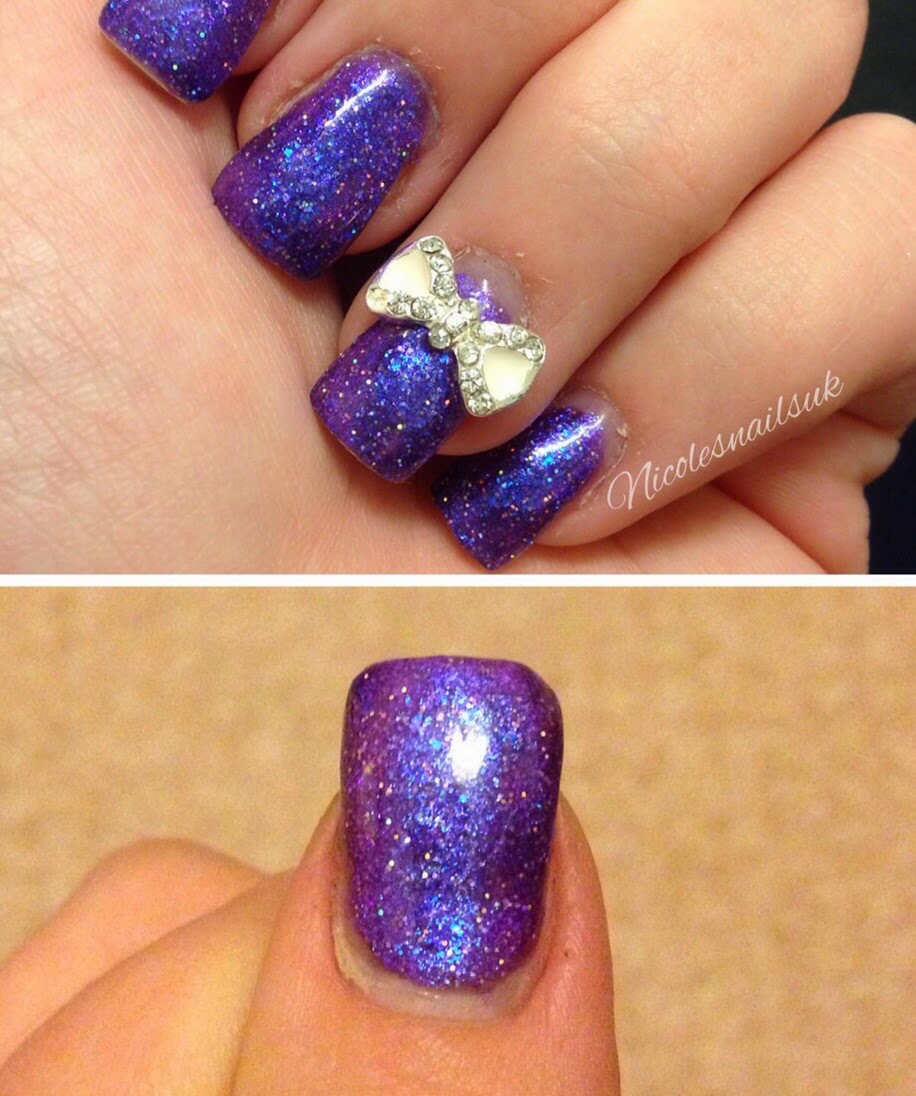
The great thing about these glitters is the base colour isn't clear like most others, but has a decent colour to it. This means there's no need to add a base colour to go under the glitter. It's also super glittery! It's so hard to capture how much it sparkles, so you'll have to trust me because it's a lot! 


I've had soo many compliments at work from the customers about these polishes, especially the purple one so they have definitely been a great buy and would highly recommend! I've used about four coats to get the colour nice and bright, plus I've added gel on top to protect it. But the polishes also work with less coats for a more subtle, but still pretty look :) 

So I hope you like today's review, see you soon for more nail blogging! 

Nicole x 

@nicolesnailsuk