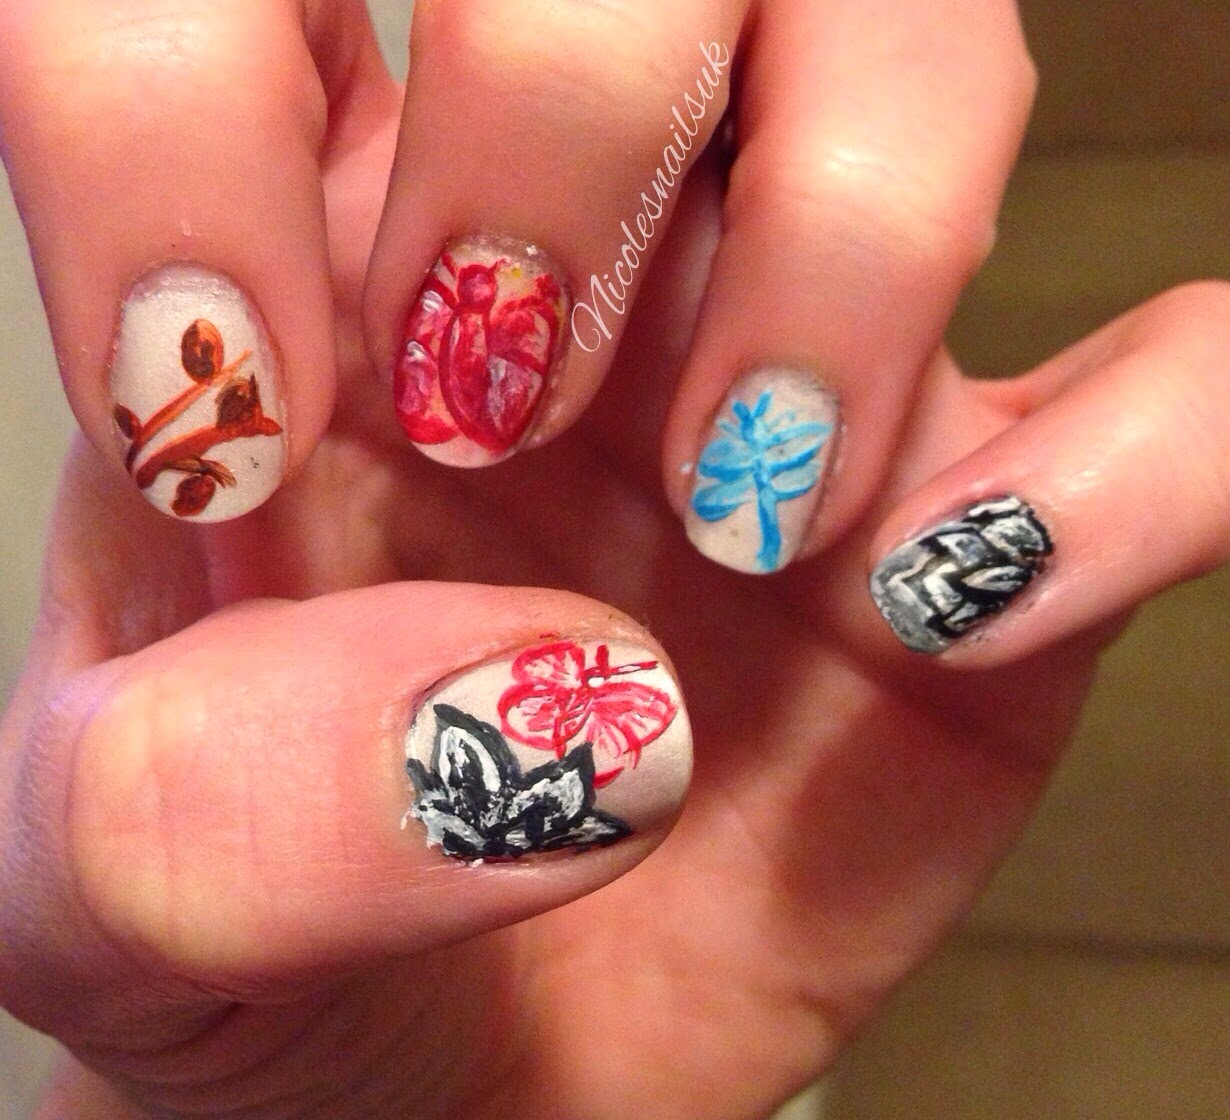
Hey everyone! Today I've got something a bit different for you to have a look at. My mani today I treated more like doing a painting of piece of artwork, rather than nail art. You'll also have to ignore the unfinished look of the mani in the pictures! I took them before completely tidying the edges and then completely forgot to retake them before I removed the design! Silly me! Anyway...
I started off with BarryM's 'Pearl' from their Silk range for the base colour. You can see some swatches from the Silk range here. I then used actual Acrylic paints for the designs on each finger.
Acrylics work so much better than normal nail polish for these sort of designs because they go onto the nail so much better and thicker than a polish, so there's no need to go over a design again and again to make it darker. Acrylics also allow you to blend colours and make new colours to suit your design. Also if you make a mistake you can correct it with water, but nail polish remover also works when taking the whole design off.
I've gone with a wildlife type theme for this mani and decided to put something different on each finger. My favourite has to be how my thumb nail turned out though, will the small butterfly and flower :)
So I hope you like today's design, I really enjoyed doing something a bit different for you to see and I loved working with the Acrylic paints for a change!
Nicole x
Friday, 16 May 2014
Tuesday, 13 May 2014
Tutorial Time!
Hi everyone, today I've got a lovely little tutorial for you to try at home. I've used BarryM polishes for this (surprise, surprise!) and my BarryM black nail art pen.
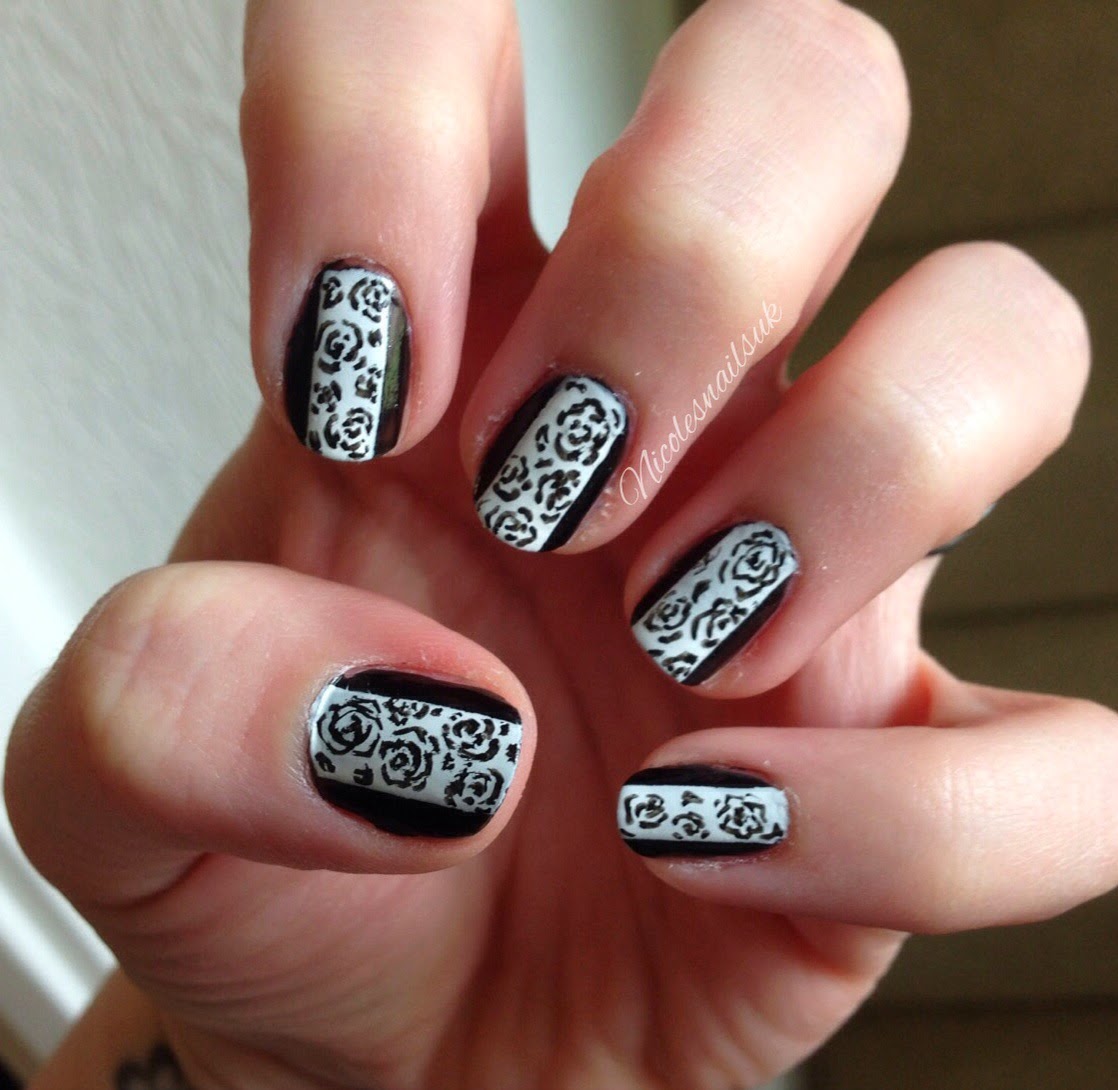
Now you can do this in whatever colours you want, but I find the black and white works really well. First paint your nails black, and wait until the polish is completely dry.
Next you'll need tape to section off your nail. Put a piece of tape down each edge of your nail, leaving the middle section. Now paint the middle stripes with white polish, and pull the tape off your nail while the white us still wet.
This will leave you with a two-tone sectioned effect on your nail. Now comes more waiting. You'll need to wait as long as you can for the white to dry. If it's still tacky then you won't be able to do the next stage.
This mani is so simple, but so effective and I was really pleased about how it looks. Just make sure the roses are really dry before adding the top coat to avoid them streaking.
Nicole x
Now you can do this in whatever colours you want, but I find the black and white works really well. First paint your nails black, and wait until the polish is completely dry.
Take your black nail art pen and fill in your white section with roses. To create the roses build up small lines for the petals like in the pictures. And that's it!
Nicole x
Sunday, 11 May 2014
The Cosmo blog awards
Hey everyone just a quick post to ask for your support at the Cosmo blog awards. The awards is a great place for us bloggers to get recognition for our blogs, and help get our names out there! Thank you all for your support!
You can vote here
Nicole x
Please nominate me!
www.nicolesnailsuk.blogspot.co.uk
'Best New Beauty Blog'
Subscribe to:
Posts (Atom)