Instagram
Follow on Feedspot
Follow on Bloglovin
Nicoles Nails

Wednesday, 5 March 2014

Rimmel Make Up Review

Hi everyone, welcome to today's post. I've got no nails for you today but I do have a little make up review for you to have a read of! 

I've been trying out some new make up recently, and trying to pull myself away from my old cheaper favourites, that I've always worn since I was a teenager! 


I recently tried a few new Rimmel products, which I'm going to review today. To start with I have Rimmel's 'Wake me up' foundation and I have to say I'm loving this. The foundation goings on lovely and evenly and gives you a lovely glow, and I also really like the smell haha! I've gone with soft beige, but to be honest I'll probably go a little lighter next time as I'm quite fair. I use a basic Make up pad to apply my foundation and dot it around my face before rubbing it in. And this goes on nice and smooth so I'm very happy. 


I've also recently been trying Rimmel's 'Match Perfection' compact powder, again I've gone with the soft beige but could of done with something a little lighter! I've always used a cheap brand compact powder, but now I've used this I don't think I'll be going back! The compact powder goes on lovely and evenly and doesn't leave a powdery look to your skin, around your nose and forehead, which I find is a common problem with the cheaper brands. The compact powder also comes with a hidden pad and mirror underneath the powder, so 
definitely great value for money and great to have in your handbag for touch ups! 


(Excuse Lilly the cat nosing in my make up bag!)

Lastly my new product is Rimmel's 'sable brown' Kohl eyeliner pencil. I've already converted to Rimmel eye liner after discovering how awesome it was when I won a Rimmel Goodie bag (see my post here) in January. I've never worn any eyeliner other than thick, bold black eyeliner so going for a more subtle brown was a big change for me. But I really loved it! As with the black kohl pencil it goes on really well and last all day, and the brown coupled with some brown eye shadow was a lovely, more subtle look for me, so I was really pleased :) 

So all in all, my three new products make me very happy, and I'm loving the change from my usual brands, and doubt very much I'll be reverting back to them. And it's shown me that sometimes you actually do get what you pay for! And it's definitely worth going for a branded make up product such as these Rimmel ones! 

Nicole x 
@nicolesnailsuk
Pinterest.com/nicolesnails
Instagram: #nicolesnailsuk 

Tuesday, 4 March 2014

Feathered effect

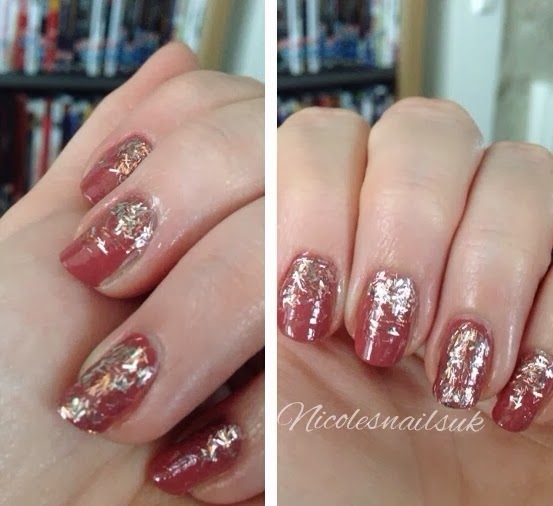
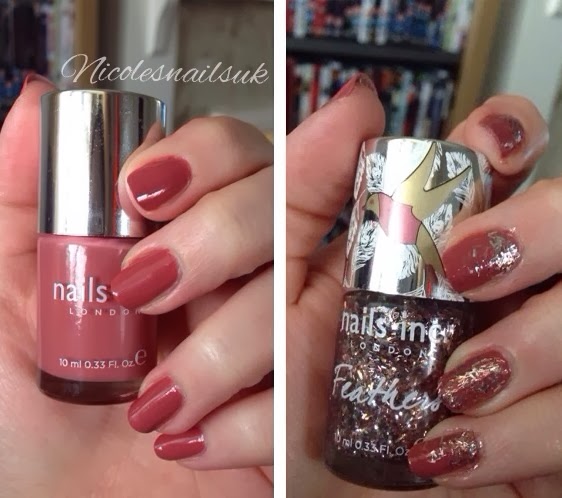
Hi everyone, today I've got a nice simple mani to show you. I've created a graduated look for this mani using Nails Inc feather effect 'bath' and I've used Nails Inc 'Eton Avenue' for the base colour. 


I love this base colour because it's so unusual. The actual colour is slightly lighter than the pictures make it appear and I've used 3 coats for this as it's not the thickest of polishes. 


The feather effect polish I absolutely love! It makes a great change to normal glitter and it also dries better than most other glitters, so was really good for adding lots on to create the graduated look. 

To create the graduated effect, just add 3/4 layers on top of each other at the base of each nail, try to get lots of the glitter on the brush each time and avoid too much actual polish being on the nail. Then add 1/2 layers in the centre of the nail, and then leave the tip plain with just the base colour. 


So I hope you liked today's mani. See you soon for more designs! 

Nicole x 

@nicolesnailsuk
Pinterest.com/nicolesnails
Instagram: #nicolesnailsuk
Monday, 3 March 2014

Tutorial Time!

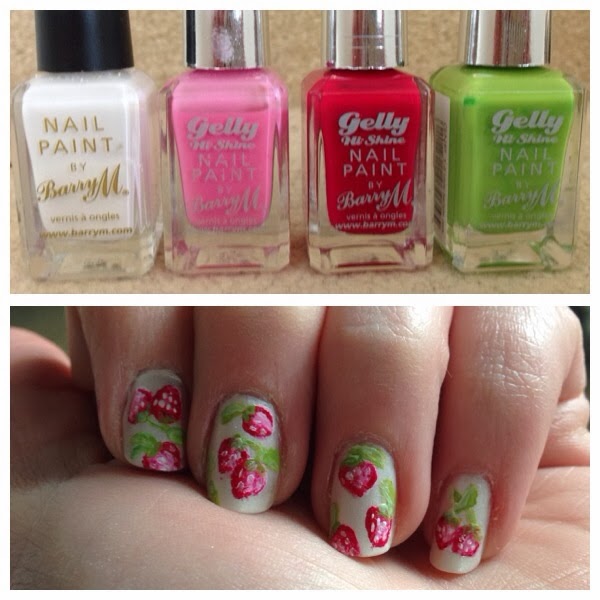
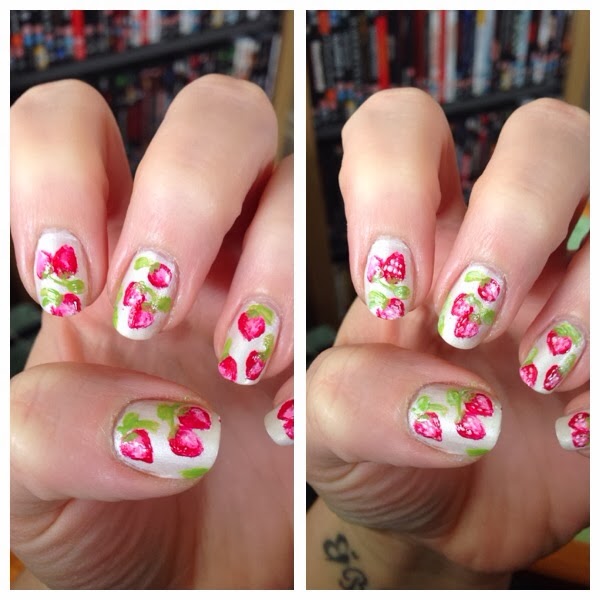
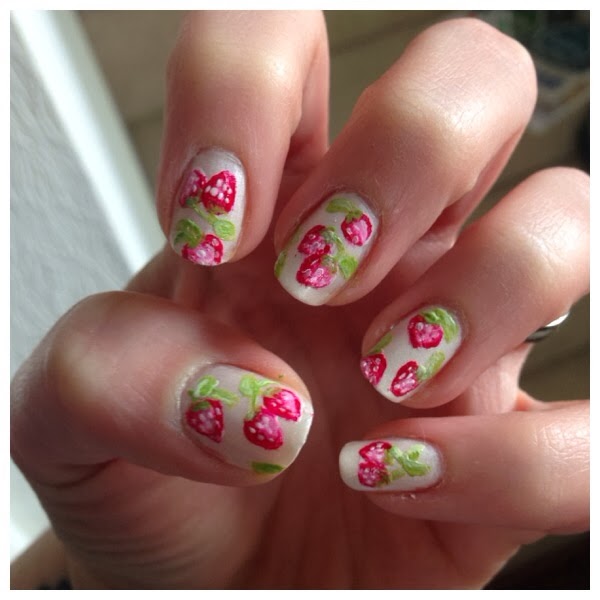
Hi everyone, welcome to today's tutorial time. Today's mani is based on the Cath Kidston pattern strawberrys. This is a fairly simple mani, but you will need a small nail brush to be able to do the strawberrys. 


I've used BarryM products for this tutorial. The dark pink is 'pomegranate' and the lighter pink 'dragon'. I've also used 'key lime' for the green leaves and a normal white for the detailing. The base colour used is 'pearl' from their silk range. 


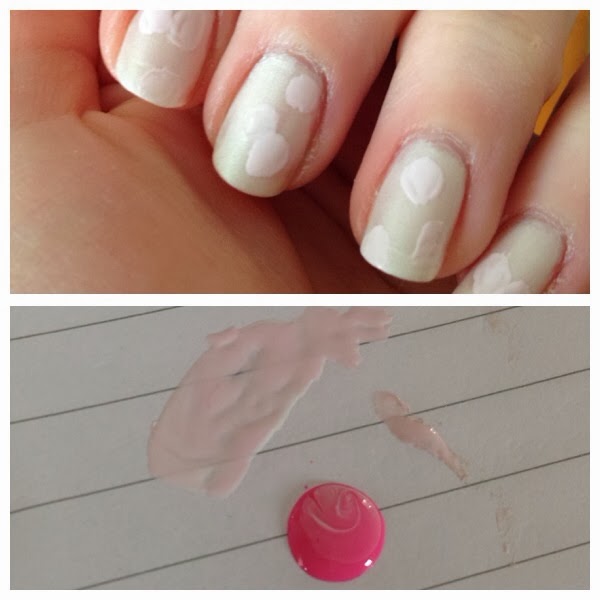
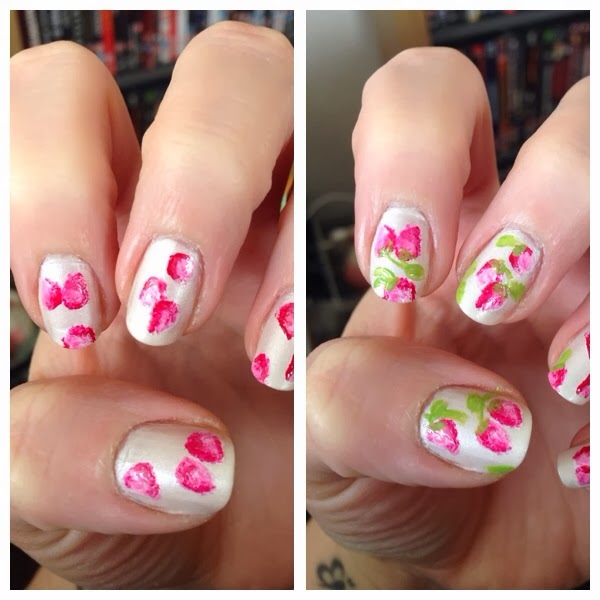
First of all make sure your base colour is nice and dry before you start. Use a small nail brush to paint on rough strawberry shapes, randomly on each nail.. I've done some individual strawberrys and some in pairs. For this bit I mixed white with the dragon to get a slightly lighter pink. Now add on the darker pink, choose an edge of each strawberry to highlight, to help create the strawberry shape. 


Now clean your brush and use the green to create the leaves on each strawberry. Go with the shapes and sizes that you feel will look best for each nail. Once this was dry I added a bit of white to the green so I could add some lighter highlights to each leaf to create a more realistic look. 

At this stage I then went back to the dark pink and just touched up each strawberry, making them neater and more defined.

Once everything is dry, take the smallest brush you have and create tiny lines on each strawberry to represent the pips. 


Then just add some top coat once it's all dry and you have your own strawberry design! 

I really enjoyed doing this tutorial, and I hope you do too! 

Nicole x
@nicolesnailsuk
Pinterest.com/nicolesnails
Instagram: #nicolesnailsuk